Ostrich Sosaties

Ostrich Sosaties

Sosaties are a traditional South African dish of meat (usually lamb or mutton) cooked on skewers. The term derives from sate (“skewered meat”) and saus (spicy sauce). It is of Cape Malay origin, used in Afrikaans, the primary language of the Cape Malays, and the word has gained greater circulation in South Africa. Marinated, cubed meat (usually lamb) is skewered and barbecued shish-kebab style.

So the task was set by Mediterranean Delicacies to create a locally inspired dish using their range of amazing products. You can go have a look at their website to see the full range. Given that South Africa has become this melting pot of diversity and culture, I had the option to go many ways. I could of gone very Cape Malay and made an amazing curry, or very retro and stuck to making stunning canapes and snacks, but nothing screams South Africa, like Braai…we even have a day set aside for it each year, it’s a staple in most households, and every one claims to do it best. The #AfroChic element to this, is that it’s a different take on “meat on a stick”, served with a gorgeous cous cous salad and bursting with flavor.

Processed with VSCO with e1 preset

Processed with VSCO with e1 preset

Using these four products from the range, two as a marinade, one as a dipping sauce and the other as part of the salad, you really don’t need loads of prep-time, its easy to pick up on your way home from work, or even to add to the trolley over the weekend, because you can find the range in allocated fridges in most supermarkets, including Pick ‘n Pay, Checkers and Spar.

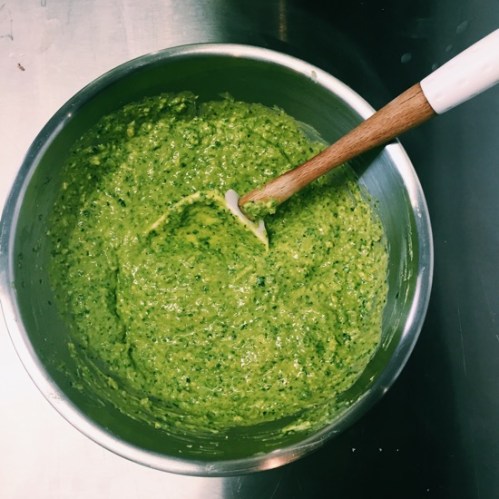
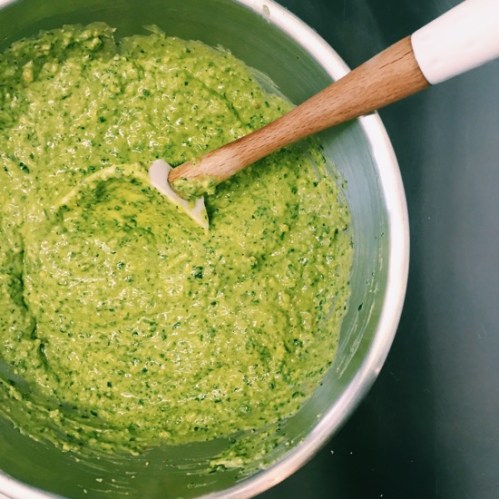
The key element to making this a success is the marinade. You’ll have the earthy punch of coriander pesto, with the spicy kick of the chilli and garlic relish. Make the mix and generously coat your ostrich pieces, leaving it covered in the fridge for about 2 hours. (If you are pressed for time, half and hour would be cool, but have patience….make it amazing)


The cous cous salad can be made with rice, Bulgar wheat, or even pasta, but the addition of cous cous to this recipe makes it simple and easy!

Ok, so here is the run down.

  • Scroll to the end of this post and print the recipe
  • Go get all your ingredients
  • Light your fire, or grill.
  • Do your preparation
  • Put someone on Sosatie duty
  • Watch as your family and friends devour your yummy food!

Also, tag @medideli on social media so that they can see what you are making and creating with their awesome range!

Ostrich Sosaties

  • Servings: 7-8 sticks
  • Print

For the Sosaties

  • 500g of Ostrich cut into cubes
  • 2 TBSP of Coriander pesto
  • 2 tsp of Chilli and Garlic Relish
  • Salt and Pepper
  • Olive oil
  • Sosatie/Kebab sticks (if you are using wooden ones, soak them in water for half an hour, this prevents them burning on the flames)

For the salad

  • 2 cups of cooked Cous Cous (follow instructions on the box)
  • 1 jar of the Artichoke Salad, chopped
  • a handful of soft herbs, chopped (I used coriander and parsley)
  • 1 cup of baby roma tomatoes, cut
  • Salt and Pepper
  • Olive oil

To Serve

  • 1 tub of tzatziki
  • lemon wedges
  • extra coriander to garnish
  1. In a bowl, add your ostrich, and marinade mix, and season well with salt and pepper, as said before, leave aside to soak up all the yumminess. Once you’ve allowed marinading to happen, skewer the meat onto your prepared sticks and set aside.
  2. In a separate bowl, add your cous cous, chopped artichoke salad, herbs, tomatoes and season well, with salt and pepper, and copious amounts of Olive oil.
  3. Once your fire/grill is ready, brush the sosaties with olive oil, and place them onto the grill. I gave mine about 5 minutes of the first side and then 3 once i flipped them, giving me the perfect medium.
  4. Prepare a big board or platter, layering your cous cous salad and topping them with the grilled Sosaties, topping those with tzatziki and fresh coriander stalks.
  5. Squeeze fresh lemon juice over all of this amazingness and serve immediately.


Sosatie Defintion from Wikipedia


Kale, chickpea and sweet potato cakes 

Kale, chickpea and sweet potato cakes 

I last posted a recipe in January and effectively it feels like a lifetime ago. The last three months have flown out of the window, and although loads has been happening, I feel like I’ve gotten nothing done! Do you think we can press the reset button and just go back to the 1st of January (without the hangover)  

This recipe was a quick one, developed over maybe 20 minutes using what I had in my fridge and pantry. That’s the best type of cooking, I believe, because you are able to experiment and create, which is always a good thing. 

Handle these babies with care, as they are fairly fragile, but pack power, crunch, and loads of flavor!  

Kale, chickpea and sweet potato cakes


  • 1 large sweet potato, roasted in the oven until soft, remove skin 
  • 3 big leaves of curly kale, stalks removed 
  • 1 cup of chickpeas 
  • 2 cloves of garlic, minced 
  • 1 small chilli, chop finely 
  • 1 cup of peas (I blanched them in vegetable stock to just soften them) 
  • 3 purple spring onions 
  • A hand full of soft herbs, I used coriander and basil 
  • 1 cup of Panko crumbs / or normal bread crumbs 
  • 1 cup of white sesame seeds 

Process all the ingredients in a food processor, besides the breadcrumbs 

Season well with salt and pepper 

Remove from the food processor and add to a bowl. 

Add half the the breadcrumbs, you want a slightly firm, but not dense mixture, basically able to shaped but not too stiff. 

If you need to add more breadcrumbs, do so. 

Shape them as you big or small as you want, I got about 12 mini cakes 

Coat in sesame seeds 

Place on a greased tray and bake in an oven on 200C until they are slightly golden 

It’s a fragile cake, so handle with care 


❤️

Bananarama! 

Bananarama! 

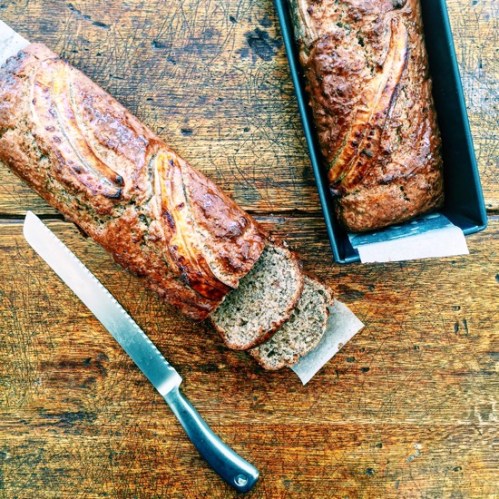
There’s no real write up about this recipe. I had ripe bananas in the fruit bowl that I needed to use…I’m also a firm believer in the power of chia seeds, and I love walnuts…presto, a recipe was born. 
  
Banana loaf, for me, makes me reminisce about moments spent, on a Sunday, in my grandmothers kitchen, where she made the most amazing banana loaf and muffins, adding dates, Brandy and obviously loads of love, to her recipes. They were moist, delicious and lathered in butter, it was moments of pure bliss. Alas, I was never able to get the recipe out of her, and I try my best to recreate it every now and again. (Failing, but still resulting with yummy bakes) 


Banana, Chia and Walnut Loaf

  • Servings: 1 large loaf
  • Print
 

Ingredients 

1 1/2 cups of flour (GF or ordinary) 

2 tsps of baking powder 

1/4 tsp of salt 

1 large egg 

2 TBSPS of soft butter 

1/2 cup of brown sugar 

1/3 cup of chia 

1/2 cup of walnuts 

3 large bananas 

1/2 cup of milk or almond milk 

1 TBSP of cinnamon

Method  

  • Set your oven to 180C and grease a large loaf tin 
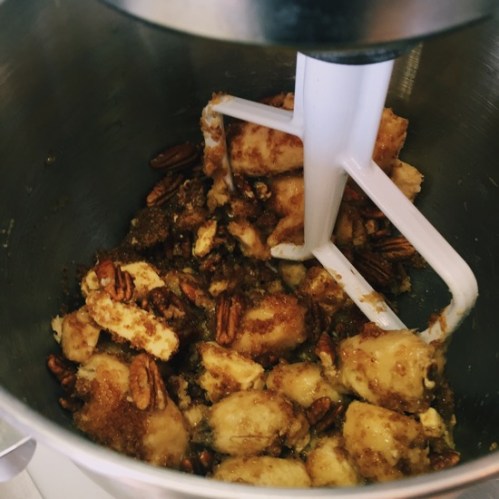
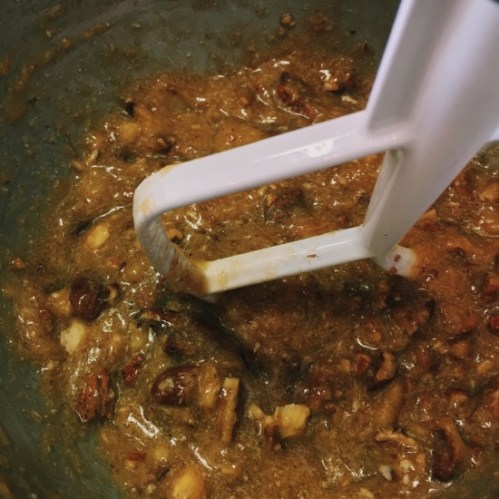
  • In a mixing bowl, add the egg, butter, sugar, milk, nuts and 2 bananas. With a paddle attachment, mix these together on a medium speed. 
  • In a seperate bowl, mix you flour, baking powder, salt, cinnamon and chia. 
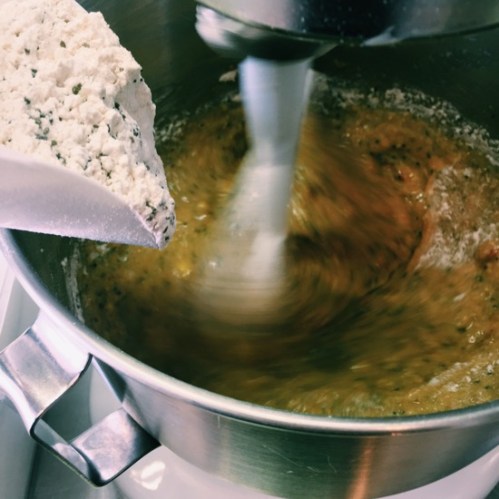
  • Once your wet mix is done, start adding the flour mix bit by bit. Keep adding until all the flour mix is done, and give it a quick blast on high, just to make sure all the mixture is properly incorporated. 
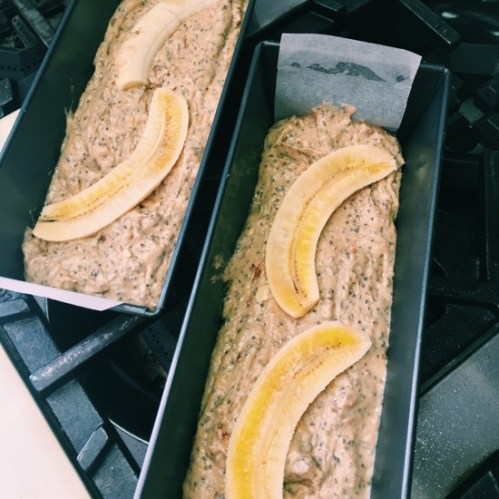
  • Place into your greased loaf tin, and top with the remaining banana, cut in half. 
  • Bake for 45-60 minutes, depending on your oven speed. 
  • I drizzled warmed honey on the top of the loaf as soon as I take it out of the oven. 


Ok, cauliflower. Ok. 

Ok, cauliflower. Ok. 


Has anyone taken note of how versatile the cauliflower is? I have. I’m also sure that due to the Banting craze, most foodies, chefs and home cooks have started using this very underrated vegetable. 

So the basic principles of gnocchi apply here, what I tasted was nothing that would scare you away from making it, and due to the flour and egg additions, the cauliflower almost looses its flavour completely – which is a good thing for people (kids…or some grownups) that tend to not be vegetable eaters.

I also urge you to actually make a batch of either the sweet potato gnocchi or this recipe, as once you’ve mastered the technique, it’s the easiet side to any meal…or even just on its own, and it’s not as complicated as you might think.

Gnocchi is also famously brilliant sautéed in butter with fresh sage leaves, so the frills of trying to figure out a sauce or anything to go with it, is not something that needs to be overly thought of!

It’s simple food, that when made correctly, is amazing. That’s why I love it.

Cauliflower Gnocchi

  • Servings: 4 Big portions
  • Print

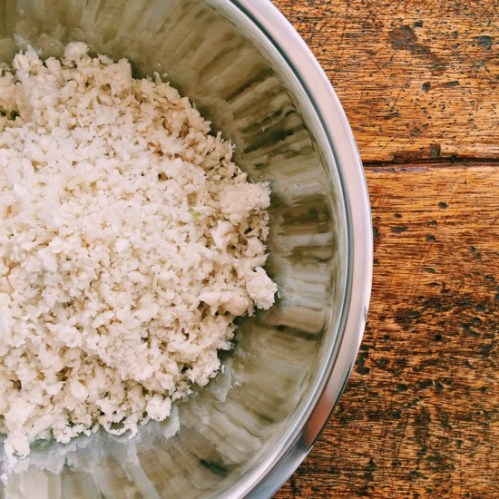
  • 550g of cauliflower (about 1 big head), processed finely in a food processor.
  • 2 egg yolks
  • 1 whole egg
  • 1 1/2 – 2 cups of gluten free flour and extra for kneading
  • 1/2 tsp of salt
  • 2 tsp of baking powder
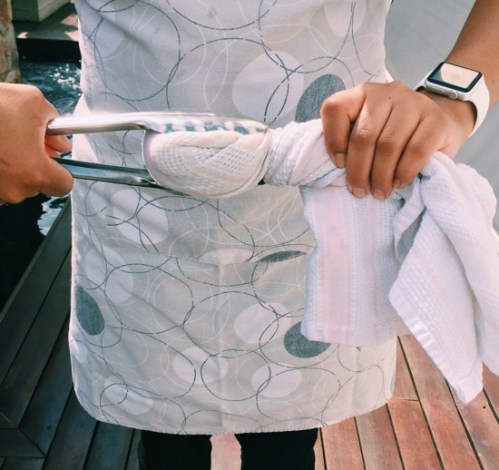
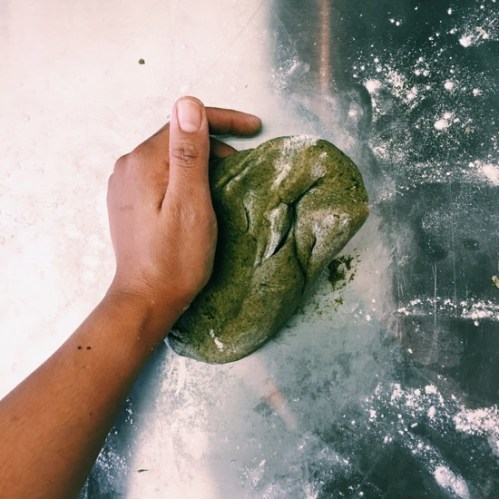
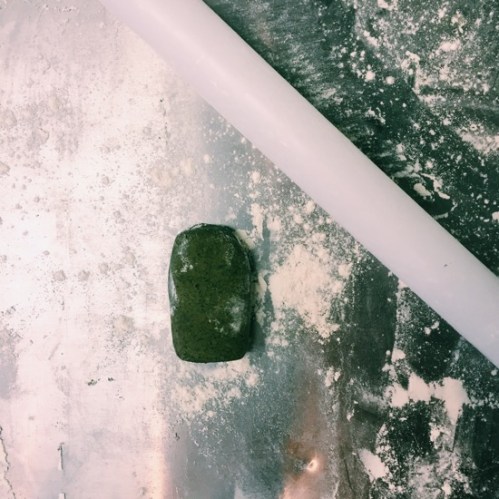
  1. In a microwaveable dish, heat the cauliflower for 3 minutes on high. In a clean dish towel, squeeze out the excess moisture, with a tongs (see picture below)
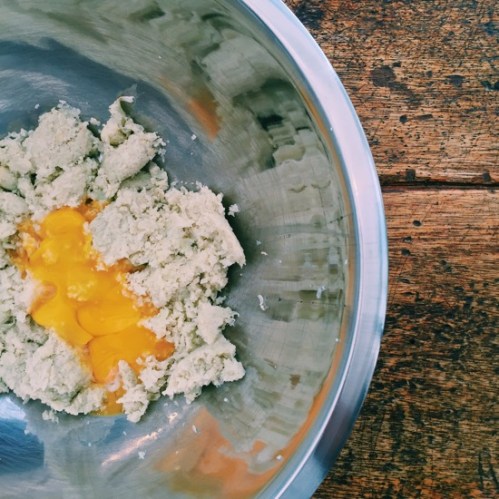
  2. Add the eggs to a large bowl, with the cauliflower, 1 1/2 cups of gluten free flour, salt and baking powder.
  3. Mix until the dough comes together, add more flour as needed – until you can form a ball.
  4. Transfer to a floured surface and knead, dusting with flour when needed, leave to rest for about 1o minutes.
  5. Prepare a pot of water with salt and olive oil, place this on a high heat and bring it up to the boil.
  6. Now divide your dough into about 12 equal pieces, roll out each piece to start cutting you gnocchi.
  7. Start cutting your gnocchi pieces and get a helper to fork them for you. The indentations help keep them pretty, but also lap up flavors and sauces.
  8. Once you have all your gnocchi cut and prepared, drop the gnocchi into the boiling water (in batches) and once they start bobbing to the surface, transfers them to an oiled oven tray, or directly to your sauce.


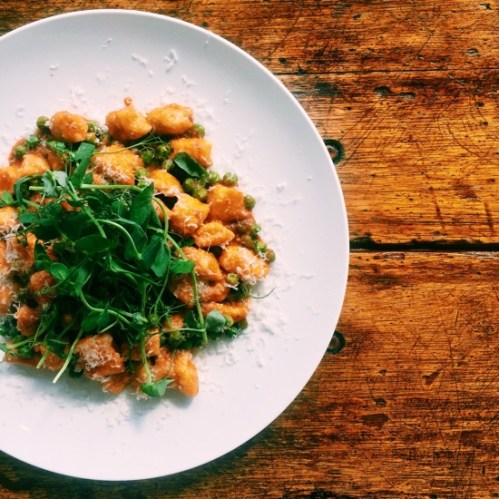
The above plate is a basic Neapolitan sauce, with peas, Parmesan and fresh pea shots.

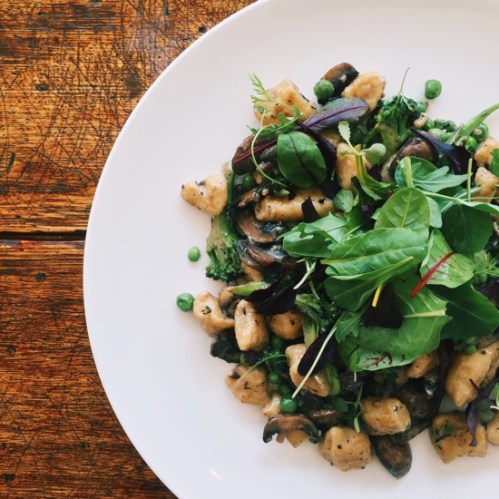
This plate is portabellini mushrooms, black truffle oil, peas and broccoli.

❤️🍴

That Greek pizza 

That Greek pizza 

I’m FOREVER on a quest to find alternates to certain foods, without becoming obsessive! I always say that I’m a chef “first” – because, besides the training, this is my absolute passion. 

So sitting with recipes books and trying to find time to go through COUNTLESS blogs, sites and instagrams, I sometimes see something, it gets stored in the depths of my brain and then like a lightbulb, it goes off, and keeps blinding me with its flashes. 

I saw this on a friends Facebook, sometime ago, I think she posted the link to a Pinterest site and as you probably aware, the ball just keeps rolling… 

I’m not even creating a recipe tab for this, it’s two ingredients – it’s the simpliest recipe that I have EVER posted. 

1 1/2 cups of self raising flour

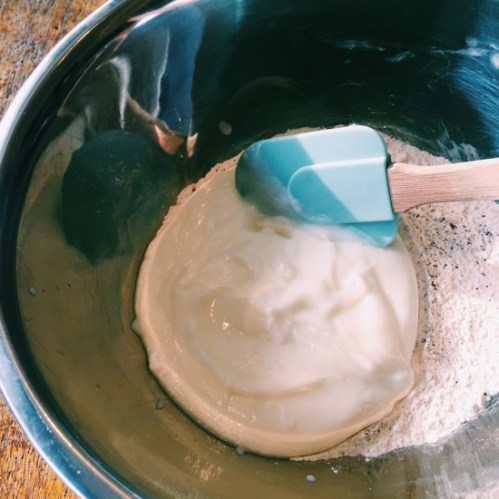
1 cup of Greek yogurt (non-fat) 

Pinch of Salt and pepper 

MIX 

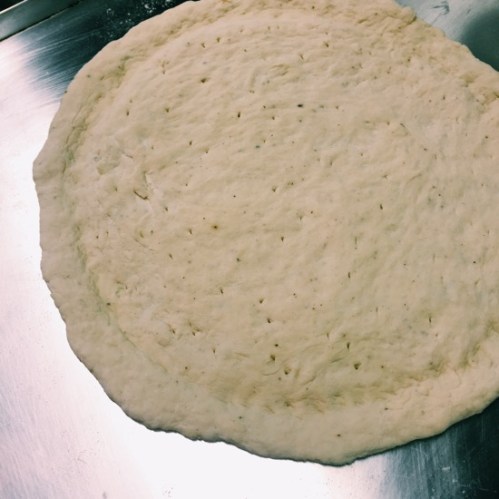
Leave to rest for 20 minutes and then shape to a pizza base. Pre-bake without toppings at 200C for 10-15 minutes, until slightly golden. 

Top…pop back into the oven until the cheese melts. 

EAT 


How’s that for quick, easy, simple, fast, “look at me impress my friends” moments!!! 

❤️🍴🍗

Quick and Easy Zucchini Fritters

Quick and Easy Zucchini Fritters

IMG_6073

What is it about Zucchini that we all seem to gravitate to? Whether is be the delicious Zucchini “fries” from one of my favorite restaurants, Stella Luna, or whether they are wrapped around mozzarella and baked in a tomato sauce, or made into fritters or “pasta” it’s one of my all time most yummy and delicious choices for a side or a main in a meal!

Let us also remember that it is really low in calories, and contains potassium, folate and Vitamin A – so its healthy for you too! BONUS! (Well depending on what you add to it…..baking it with mozzarella makes it slightly healthier than using pasta)

Here’s a quick recipe adapted from two others and mashed together, to bring you an almost frittata, crispy, fritter type cake. Perfect for lunch, brunch or a quick snack (make them, keep them in the fridge and eat them cold).

Zucchini Fritters

  • Servings: 6 Large Fritters
  • Difficulty: Easy
  • Print

4 Zucchini, grated (We seldom find very large zucchinis here, so use a guide of 12-15cm in length)

Salt and Pepper

2 eggs, slightly whisked

1 cup of baby spinach leaves, washed and roughly chopped

1/2 cup of fresh basil leaves, also washed and roughly chopped

1/2 cup of Almond meal

2 TBSP of chopped coriander

2 TBSP of psyllium husk

1 TBSP of coconut oil, melted

Place the zucchini in a bowl and sprinkle with salt. Leave to stand for about 10 minutes. The salt helps draw out moisture. In a clean dish towel, squeeze out the zucchini and get it as dry as possible.

In a mixing bowl, combine all the remaining ingredients, besides the coconut oil, and add the zucchini. Mix well.

Add the coconut oil to a pan, and bring to a medium heat on the stove top.

Add large spoonfuls of the fritter mixture to the heated oil, and fry until golden brown on each side – flipping carefully.

Serve these with fresh Neapolitan sauce or slices of avocado and a squeeze of fresh lemon juice, or a fresh rocket and cucumber salad. Keep what you serve them with simple as these fritters don’t need much to make them shine!

Green Sauce! 

Green Sauce! 


Going a tad bit crazy for this sauce. 

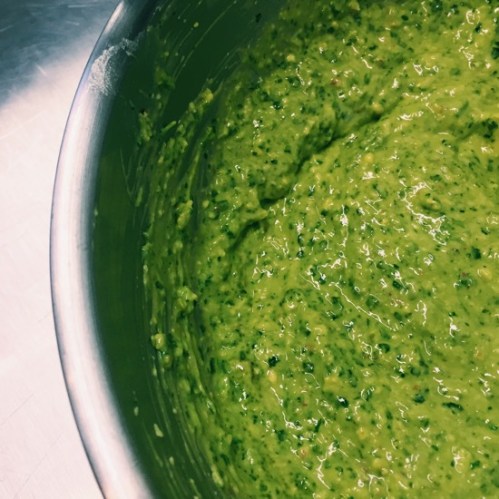
Well, it’s not a sauce per se, more like a thick salsa that’s not a salsa….get what I mean? Maybe I can call it a thick guacamole??? It has the magical avocado…it also has load of fresh herbs, pistachios, and some kick with jalapeños!


You can use this on ANYTHING. Nachos, fish, chicken, steak, a dipping sauce for sweet potato fries, or those awesome mozzarella sticks, use it as a dressing for a pasta salad or as an add on to a crudités platter! It’s endless!!! It’s also quick, all into a food processor and go go go!


So on a mission to always find GOOD alternates, that still taste amazing, look good and are healthier than mayonnaise, processed tomato sauce or all the other stuff that you accumulate in that side door of your fridge!

Although shelled pastachios are a bit pricey, it’s worth the splurge, and a 200g bag gives you enough nuts for at least 3 recipes. (So a good investment, as this will become a staple and an addiction)

Green Sauce

  • Servings: 6-8
  • Print

Ingredients

1 avocado

1 cup of flat leaf parsley and coriander, loosely packed – combined

1 jalapeño pepper, seeds and ribs removed

2 cloves of garlic

Juice of two limes

1/2 cup of water

1/2 cup of olive oil

2 teaspoons of salt

1/2 cup of pistachios

Method

Add all ingredients besides the pistachios, into a food processor, pulse until combined. Add the pistachios and blend.

Taste for seasoning, but it should be all good and delicious!


❤️🍴

Amazing gluten free pasta!!! 

Amazing gluten free pasta!!! 

So what happens when you can actually feel the effect that gluten has on your tummy?? 

I’m not one to jump on any quick fix diet, detox or cleanse, but I have started (after many years of eating really badly) listening to my body. You can actually do that you know!? After years of battling, I figured out that I am actually lactose intolerant, and stopped eating the wonderful creamy pastas that I always gravitated to. I also stop eating processed dairy, and stick to Parmesan, that I put in almost everything!!!

Gluten on the other hand, you can actually feel the difference after you have eaten a gluten free dish and one that is filled with gluten. Here’s the challenge…loads of restaurants offer the two options, try one then another time, try the other.

SEE!!!!!! Can you feel the difference??

So here, a quick recipe, to make a handmade pasta, that once you master, it will become a staple, and you’ll serve it at least once a week! The sauces and/or toppings, are only as limited as your imagination.

Gluten Free Pasta

  • Servings: 4 Adults
  • Difficulty: Patience is needed
  • Print

Ingredients

1 cup of brown rice flour

1/2 cup of tapioca starch

1/2 cup of buckwheat flour

Generous pinch of salt

1 handful of basil

3 eggs

1 tbsp of water

  • Place the eggs into a blender, with the basil, and blitz until the basil is fine.
  • Transfer to a bowl, and add the water, and salt. Mix well.
  • Add the dry ingredients and mix well, until all incorporated. Transfer to a floured surface and knead for about 5 minutes.
  • If you have made normal pasta before, you will not that it’s not as stretchy due to the lack of gluten. Wrap the kneaded ball in plastic wrap. Leave to rest for 30 minutes.
  • Divide into quarters, keep them covered and only take out the piece that you are going to roll out.
  • Take one portion, keep your surface floured, and roll out, to as thin as you can with a rolling pin.
  •  Carefully cut to the pieces that you need, lasagne, or thick tagliatelle.
  • Transfer to a flat container and leave to rest to one side
  • Boil a pot of water as you would normally, add some olive oil and salt, and semi cook the pasta for 2 minutes, and then place it into iced cold water.
  • Once you have figured out your sauce, toss your semi cooked pasta through your sauce. This will help thicken your sauce and your pasta will take on all that yummy flavor! If you making lasagne, layer it as you would normal pasta and bake!


Banana, bran and chocolate muffins

Banana, bran and chocolate muffins

It’s another Monday! Filled with coffee, carbs and chocolate! Luckily for me, this recipe has two of the things that I’m craving, and I can serve them with a cup of coffee to help chase away some of those pesky little Monday blues.
Whip these up on a Sunday evening, as they last for 4 days, covered and at room temperature, you can store them in the the fridge, that will give you another 2 days.

It’s an easy, on the run snack, and it’s healthy for the little ones, the chocolate is dark, but because of the honey and molasses in here, it’s not bitter!! 

Dark Chocolate, Banana and Bran Muffins

  • Servings: 10 muffins
  • Print

180g of oat bran

80ml of low fat milk

200g of mashed banana

2 TBSP of vanilla essence

1 cup of whole wheat flour

1 1/2 tsp baking powder

1/2 tsp bicarbonate soda

1 tsp ground cinnamon

1/4 tsp salt

1 TBSP melted coconut oil

1/4 cup of honey

1/4 cup of molasses

3 TBSP of dark chocolate chips or cut up dark chocolate pieces

Set your oven to 180C and grease a muffin pan


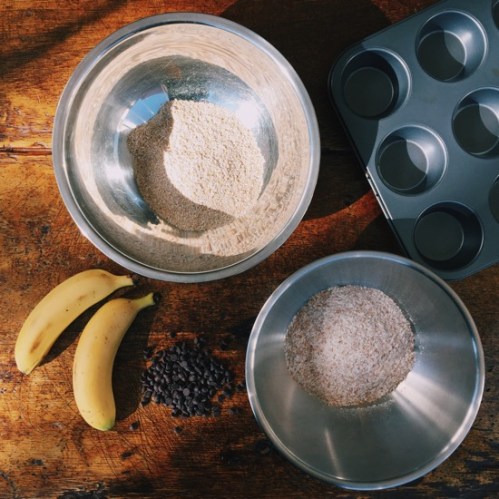
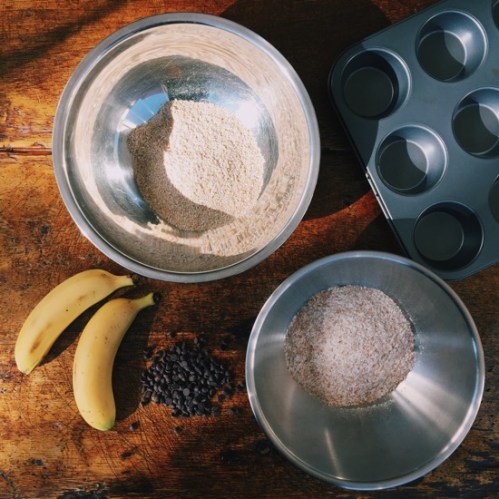
Get three bowls ready

Bowl 1 

Mash the banana and stir in the oat bran, milk and vanilla extract until fully incorporated,  leave to stand for at least 10 minutes.


Bowl 2 

Mix the flour, baking powder, bicarbonate, cinnamon and salt.

Bowl 3 

Stir together the molasses, honey and melted coconut oil.

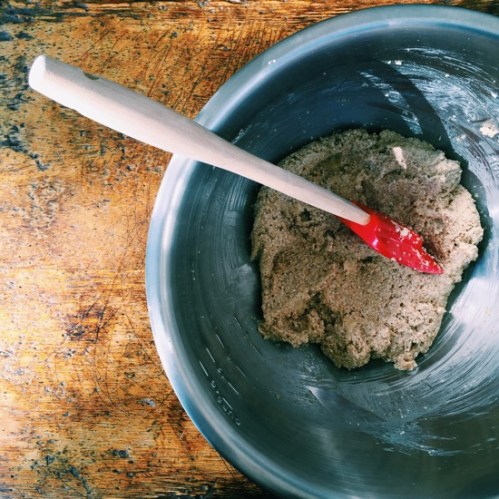
Now add bowl 3 to bowl 2. Mix well, now fold in bowl 1, until just mixed, add 2 TBSP of the chocolate chips and incorporate well.

Divide into ten muffins and place them into the prepared muffin tray.

Top with the remaining chocolate chips.

Bake for 20 minutes or until golden and firm to the touch.

Cool in the pan and then transfer to a wire rack for further cooling.

Place into a air tight container to store.


❤️🍴

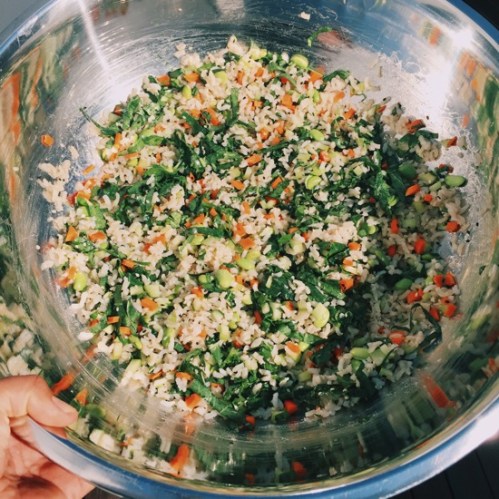
Quick brown rice sushi bowl

Quick brown rice sushi bowl


I love sushi and sushi salads, and although it’s generally healthy for you, most places cover and coat everything in sweet chili sauce (high in sugar) or that amazing tasting (but not good for you) Japanese mayonnaise (Kewpie). 
So this quick and easy thrown together recipe is the perfect “at home” sushi eating option. Serve it with grilled fish, or sashimi, toss in some prawns or flaked chicken if you want, the list of options and ideas are endless because this base is such a good and tasty salad!

Brown Rice Sushi Bowl

  • Servings: 4-6
  • Difficulty: easy
  • Print

Ingredients

1 cup of brown rice (cooked to the packets instructions and kept warm)

Salad

1/2 cucumber, peeled, seeded and cut into cubes

1 carrot, peeled and cut into cubes

1 cup of cooked edamame beans*

1 tspn each of white and black sesame seeds

4 kale leaves, stalks removed and cut into bite size pieces

A good handful of coriander and mint, chopped

2 TBSP of olive oil

Pink Himalayan salt, only if needed for seasoning

Dressing for rice 

100ml of Rice wine vinegar

2 TBSP of sugar

Dressing for salad 

Juice of 1 lime

2 tablespoons of tamari or regular soy sauce

Method

Add all the salad ingredients into a bowl and mix

In a small pot, add the two ingredients for the rice, bring to the boil and make sure the sugar is dissolved. Mix this into your warm rice. The warmth helps absorb the mixture.

Leave to cool.

In the salad bowl, pour over your lime juice and tamari, and mix well, scrunching up the kale, check for seasoning. You might need to add a pinch of salt!

Now mix the rice and the salad base together and VIOLA! Done!

Serve as you please! Even on its own!

❤️🍴

*edamame can be found in any good grocery store or Chinese specialty shops,  but if you can’t seem to track them down, you can add peas, or chopped up fine beans. If you can only find the edamame pods, cook them as per instructions and just removed the little gems from the inside!